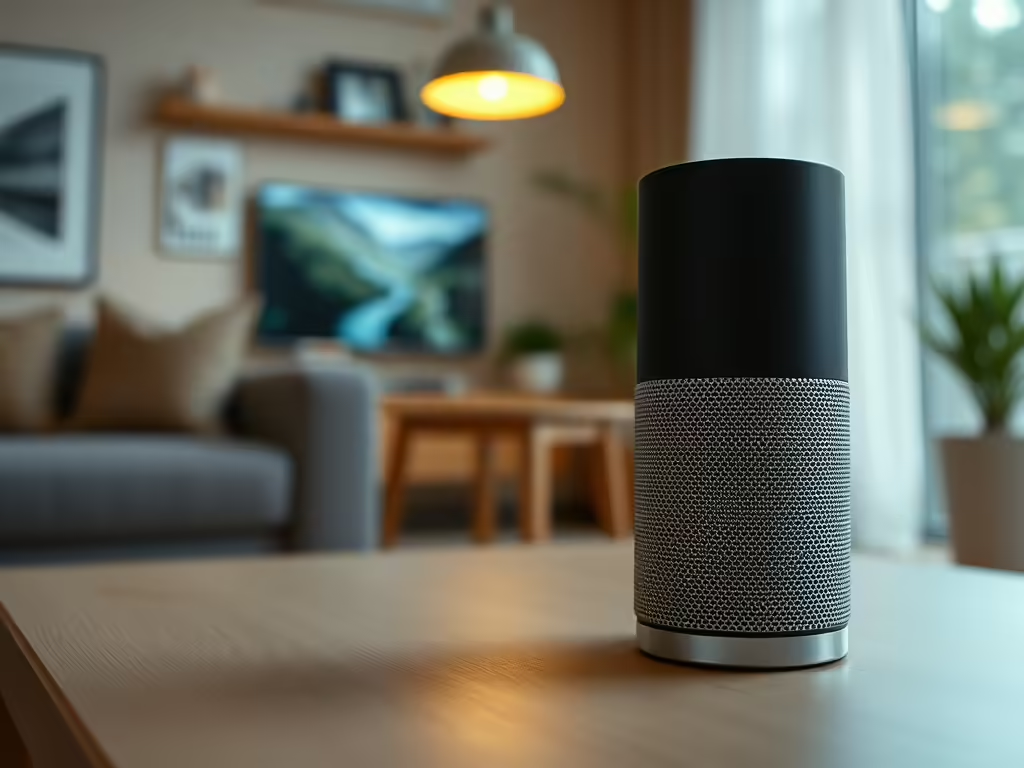
Home Assistant makes it easy to automate interactions within your smart home. A powerful feature is the ability to trigger actions based on webhooks. Today, we’ll walk through a simple setup to receive a webhook in Home Assistant, process the data, and pass it to a text-to-speech (TTS) engine to play audio on a speaker or media player.
In this example, our webhook will accept data (either in JSON or form-data format) and read it aloud through a selected TTS engine.
Step 1: Create the Webhook Automation
To begin, create an automation in Home Assistant to handle the webhook and forward the received data to TTS.
YAML for the Automation
This automation listens for a webhook, extracts data from the payload, and triggers the TTS engine with that data.
automation:
  - alias: "Webhook to TTS"
    trigger:
      - platform: webhook
        webhook_id: "your_webhook_id"  # Set your webhook ID here
    action:
      - service: tts.google_translate_say  # Adjust to your TTS service
        data_template:
          entity_id: "media_player.your_speaker"  # Replace with your speaker or media player entity
          message: "{{ trigger.data.message }}"
Breakdown of the Automation
- Webhook Trigger: The
webhook_idshould match the ID in your API call. This example listens for a webhook with the specified ID. - Data Template: Using
data_templatelets us dynamically pass the message from the webhook payload to TTS. Here,{{ trigger.data.message }}extracts themessageattribute, assuming JSON or form-data format. - TTS Service: This example uses Google Translate TTS, but you can substitute any TTS service supported by Home Assistant.
Step 2: Send Data to the Webhook
Now, we’ll look at how to trigger the webhook by sending data to Home Assistant. You can send either JSON or form-data payloads, depending on your preference.
Option 1: JSON Payload
If you prefer to send JSON, use this format:
Example JSON POST Request:
POST http://your_home_assistant_url/api/webhook/your_webhook_id
Content-Type: application/json

{
  "message": "Hello, this is a test message."
}
Option 2: Form-Data Payload
Alternatively, you can send the data as form data. Here’s what that request would look like:
Example Form-Data POST Request:
POST http://your_home_assistant_url/api/webhook/your_webhook_id
Content-Type: application/x-www-form-urlencoded

message=Hello, this is a test message.
Verifying the Setup
After setting up the automation and sending a test request, the message from the webhook payload should play through the specified speaker or media player using the TTS engine.
Troubleshooting Tips
- UndefinedError: If you see errors like
UndefinedError: 'dict object' has no attribute 'json', ensure you’re usingtrigger.datain the automation, as this is the correct syntax to access both JSON and form-data payloads. - Webhook URL: Ensure that the URL includes your Home Assistant IP or hostname and the correct port, typically
8123unless otherwise configured.
Using webhooks with Home Assistant opens up a range of possibilities to integrate external applications and devices with your smart home. With a few lines of YAML, you can set up powerful automations, from TTS notifications to controlling devices based on external events.